How to Create Email Buttons With Only HTML and CSS

The importance of email marketing content for small businesses can’t be overstated. According to a Bluecore survey, 68% of users across all demographics prefer to receive brand communication via email.
The buttons used within emails may seem like an insignificant part of the overall design and content. But, depending on your approach, buttons can impact your conversion rates significantly. So, how can you make your buttons look great on all devices for all recipients?
You may think that the answer to that question is simply using images, but this is a rookie mistake. People often turn images off in their emails, and many clients have this option enabled by default. Instead, you’ll want to stick to HTML and CSS.
Challenges When Creating an HTML Email Button
Creating HTML buttons in emails comes with two major problems — flexibility and clickability. Not all email clients process HTML and CSS the same way, but we still want our buttons to look and perform the same for every recipient.
When people create HTML buttons in email clients, they use either a border or padding.
An email button created with a border doesn’t require you to specify any dimensions, and their entire surface is clickable. Unfortunately, these types of buttons do not work in Outlook.
On the other hand, buttons created with padding work in any Outlook version, but only the text is clickable. That’s bad experience because some readers will be waiting for a page to load when they didn’t click on the text. You might be losing conversions and sales, too.
The good news is that the border and the horizontal padding work together to create a bulletproof button that works in all email clients. This is how the best web development agencies make email buttons, and we’ll show you the details of how it is done below.
HTML
To begin, we must create a wrapper table to put the entire button table into. The code for the wrapper table and the bulletproof button table itself looks like this:
<table width="100%" cellspacing="0" cellpadding="0">
  <tr>
      <td>
          <table cellspacing="0" cellpadding="0">
              <tr>
              <!-- This is the place for the button code. -->
              </tr>
          </table>
      </td>
  </tr>
</table>
This is done to keep the button in the same place regardless of the recipient’s email client.
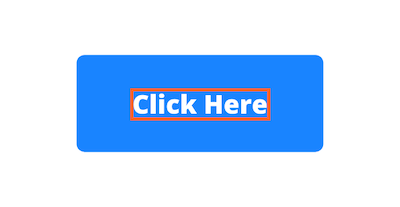
Within the button table, we will create a cell with a background color of your choice. In the following example, the background color we used was a shade of blue.
                  <td class=”button” bgcolor="#1F83FF">
                      <a  class=”link” href="https://www.emailcritic.com/" target="_blank">
                          Click Here
                      </a>
                  </td>
So, the entire HTML code with all the opening and closing tags would look like this:
<table width="100%" cellspacing="0" cellpadding="0">
  <tr>
      <td>
          <table cellspacing="0" cellpadding="0">
              <tr>
                  <td class=”button” bgcolor="#1F83FF">
                      <a  class=”link” href="https://www.emailcritic.com/" target="_blank">
                          Click Here
                      </a>
                  </td>
              </tr>
          </table>
      </td>
  </tr>
</table>
CSS
Once we’re done with the HTML side of setting up an email button, we will use CSS to apply the border and padding to the link itself. Making the entire button clickable, instead of only the button text.
Here’s how to do that:
td {
    border-radius: 10px;
}

td a {
    padding: 8px 12px;
    border: 1px solid #1F83FF;
    border-radius: 10px;
    font-family: Arial, Helvetica, sans-serif;
    font-size: 14px;
    color: #ffffff;
    text-decoration: none;
    font-weight: bold;
    display: inline-block;
}
Remember, for the horizontal padding to work, we need to define the display style as “inline-block.”
There are a few things you can do if you wish to make some changes to the look of the button. The “font-family” and “font-size” properties are pretty self-explanatory, choosing the type of font and its size, respectively.
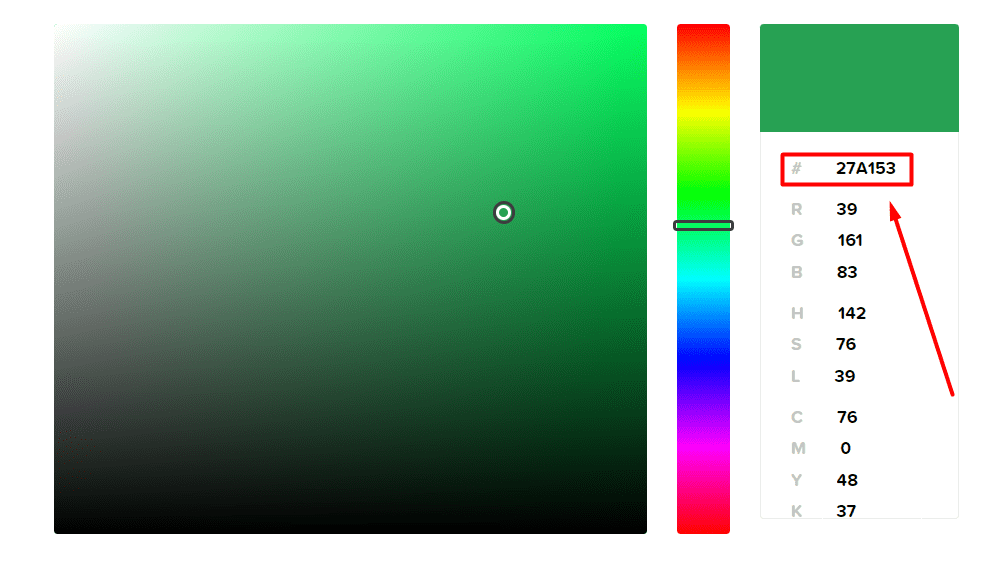
As for the “color” property, you’ll need to find the hex code of the color you wish to use. You could do this in a number of ways, but the simplest one is probably using a web app like HTML Color Codes’ color picker.
Important: You can’t use external stylesheets or embedded CSS in HTML emails. But coding them is much easier without needing to edit inline CSS for each element. If you style your emails with external stylesheets or embedded CSS, you need to inline your styles before importing them for sending.
We recommend using a Premailer to inline your CSS and to always test your emails before sending.
Inline
Here’s how the above code looks like inlined. All you need to do is insert the style parameter into the actual button table from the HTML code presented above, like so:
<table cellspacing="0" cellpadding="0">
              <tr>
                  <td style="border-radius: 2px;" bgcolor="#1F83FF">
                      <a href="https://www.emailcritic.com/" target="_blank" style="padding: 8px 12px; border: 1px solid #1F83FF;border-radius: 2px;font-family: Arial, Helvetica, sans-serif;font-size: 14px; color: #ffffff;text-decoration: none;font-weight:bold;display: inline-block;">
                          Click Here
                      </a>
                  </td>
              </tr>
          </table>
The advantage of using inline styling is that you can quickly and easily insert your CSS rules into any HTML button (or any page, for that matter). This enables you to perform quick fixes on the fly. Additionally, inline CSS means you don’t have to create a separate styling document.
The disadvantage is that it makes the structure of your HTML code somewhat messy. Just comparing the first example in which we used just HTML code with the one above illustrates this quite clearly.
Wrapping up HTML Email Buttons
Proper use of email marketing can play a major role in the success of your overall sales strategy as well as your customer retention goals. Email Marketing has a higher chance of attracting people and helping you increase customer loyalty. Email buttons for call to action are perhaps the most important element of any email campaign. A great email button enables you to reach your engagement goals, convert subscribers, and ultimately increase profits.
Using the guide we presented above, you should be able to create top-notch call-to-action buttons using just HTML and CSS. All it takes is a few lines of code, and you’ll have flexible, clickable HTML email buttons that work in any client, including Outlook.
If you’ve decided that you don’t want to go through the trouble of making your own email button, after all. You can always create your emails with HTML email template editors or hire a digital marketing agency to take care of it for you. Click the link to read more about your options.
FAQ
How do I make a button for email?
There are many ways to create buttons in your emails. You could use padded buttons, VML buttons, border-based buttons, or even images.
But, the best way to add a CTA button to your email is to use a combination of padding and border, as we explained in the examples above.
How do I add a button to my email content?
Different email clients and tools offer different options for inserting buttons into your emails.
With some, it is as easy as a few clicks. But if you want more control and want to insert a button created in HTML, you’ll most likely need to use an HTML inserter plugin of some sort, such as HTML Inserter for Gmail.
How do I center a button in HTML in an email?
To center your HTML button, you’ll need to use the “align” parameter. Like “text-align” in any text editing software, this tag has four options: left, center, right, and justify.
For a centered button, simply add align=”center” to the button’s table tag.
How do you make a button round in HTML?
The way to make a rounded corners button in an HTML email is to add a “border-radius” parameter to your table tag.
Regardless of how a particular client processes buttons, the border should appear rounded if the parameter is between 5px and 10px.

- How to Create Email Buttons With Only HTML and CSS - November 15, 2022